Search This Blog

Monday, October 7, 2013

Super Easy (and Impressive) Pumpkin Scones!!!

Hey guys! Sorry I am a day late but I was having too good of a weekend! Here is a quick and easy recipe to make pumpkin scones! Impress your friends by making these - they'll be asking for more - seriously my coworkers have already put in a request for another batch!! 

Preheat your oven to 425 degrees - hot hot hot! 


Start by mixing your dry ingredients:

-2 Cups of Flour 
-7 tablespoons sugar
-1 tbl baking powder
-1/2 tsp salt
-2 tsp pumpkin spice

Mix these in a large bowl and "cut in" 6 tablespoons of butter. To learn how to "cut in" check out this video:

http://www.youtube.com/watch?v=7RAONX3BZZU - Shout out to Betty!


After you cut in the butter - just like Betty says! I did it with a fork - use what you have!


Now mix your wet ingredients in a separate bowl:

-1/2 Cup of pumpkin
-1 egg
-3 TBL half+half


Tah-dah!


Now, mix you wet ingredients into your dry. At some point you may need to use your hands, since this is a think dough that you want to put into a ball. Here's what your hands might look like
(and yup thats me in my Sunday glory - there's worse things on Facebook..)


Plop out your dough onto a lightly floured cutting board. 


And roll it out into a circle or a rectangle.
A circle will give you 8 large scones a rectangle will give you 16 mini scones. 


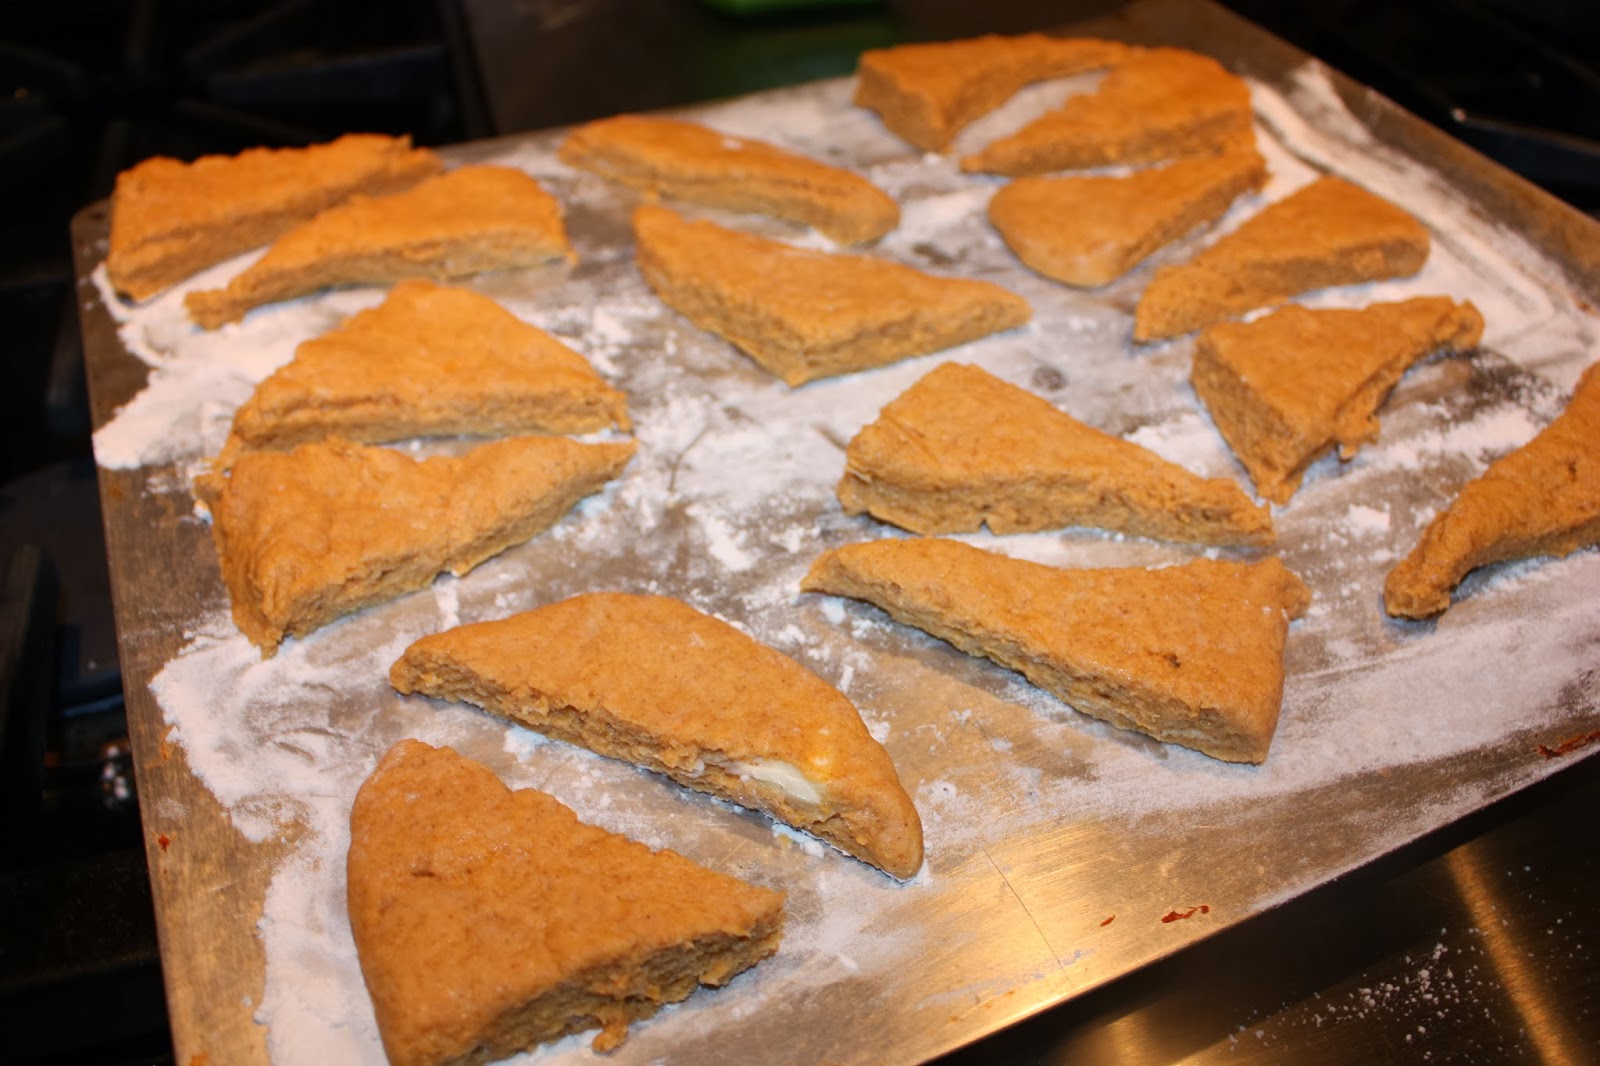
Ok this is the tricky part. You want to cut three vertical cuts and one horizontal cut in the dough. Then, take each quadrant and cut a diagonal line to make triangles.
If you make large ones, just cut it like a pizza! 


Place your mini scones on a lightly floured baking sheet and bake for 14 minutes. 


Quick note: Apparently pumpkin is going to be expensive this year due to the wet summer.
Save what you don't use for another recipe! 


All cooked!


To make a simple icing, mix powdered sugar with a little bit of milk until you get a thick glaze - you only need a little milk in your powdered sugar. I just added some pumpkin spice to the left over glaze to make the stripy parts! Keep it simple! 


Yum!


Thank you all for checking in with my blog again! Check back next week for a request from my own DAD and even more pumpkin recipes! Have a great week! 

Sunday, September 29, 2013

Stuffed Pork Chops!

Hey everyone! I hope you all had a great weekend. I came down with a nasty cold, so make sure you're getting plenty of rest and vitamins to avoid what's going around!!

Tonight, I responded to a request from my friend, Brynn, to show you guys how to make stuffed pork chops. It's a simple way to fancy-up an old classic!

To make the simplest form of stuffed pork chops all you will need is :

Pork chops
Stuffing
Salt and pepper


I dress mine up a little bit by adding bacon, celery and onion to the stuffing and a little Lawry's salt to the pork chops!

Simple prepare your stuffing according to the box. If you have your own stuffing recipe, feel free to use that! Like I said, I add bacon, onion and celery - which I quickly cook up in a large pan first, and then I add my 2 cups of water and a few tablespoons of butter before adding my dry stuffing mix. I let that all hang out for a little while I prepare my chops.


While that is hanging out you want to lay out your chops on a cutting board and with a SHARP knife cut slits into the sides. You'll want to have a decently think pork chop for this so it will hold up against your stuffing. What I think is the best method is to take your non-dominant hand on press down on the pork chop on the cutting board. With the knife in your dominant hand start at the top of on side of the pork chop and press it in about an inch. Cut a slit down the whole side of the pork chop. Think of it as making a pocket, not cutting it enough to open it up like a book. I hope that makes sense.


Now you want to actually stuff the pork chop. Scoop out the stuffing from the pan and hold a cut pork chop in your non dominant hand. You'll want to really pack the stuffing in so you can get as much as possible! Then you can continue to build the stuffing up and out. Once you have as much as you want in each pork chop, cover the stuffing with a bit of tin foil so that it doesn't burn in the oven. This also helps keep the stuffing in the pork chop!


Salt and pepper your pork chops. Cook on 375 for 30 minutes or until the chops are cooked thoroughly. You do not want to under cook pork!


I hope you all learned something new today! Try these out and let me know how it goes for you! I served them with asparagus and everyone cleaned their plates! 

Thank you so much to Brynn for requesting these! We haven't had them in so long and they are delicious! 

Come back next week for a pumpkin recipe! 

Sunday, September 22, 2013

Welcome Back/First Fall Recipe!

Please watch the video below before reading...


So yay!! Welcome back and thank you, thank you, thank you for coming back to read my posts! Tonight, I made Apple Cider Chicken with a Mushroom Sauce and Rosemary Biscuits!

You will need these things...

Chicken Tenderloins
Butter
6 Button Mushrooms
1 Small onion
1 apple of your choosing
1/4 cup of apple cider vinegar
1/2 cup milk
Short Pasta - Use what you have! I used Bow Tie (aka Farfalle.. but I'm not that fancy)

Grands Biscuits and Rosemary

You do not need any wacky tools for this! Just a few pans, a cutting board and a good knife!


Start off by chopping up your mushrooms and onion.
Slice your mushrooms and chop your onion into small pieces.


Now, plop a big ol' chunk of butter into a large pan on medium heat.


It's actually maybe 2 tablespoons... it's all about perspective! 


If NPH can joke about Paula on the Emmy's I can have her candle in my kitchen...


Once your butter is melted, quickly salt and pepper your chicken and carefully place it into your pan. 


Let it cook until lightly brown and flip! 


You don't have to cook these all the way though, we will continue to cook them later on. Remove your chicken from the pan and set aside. 

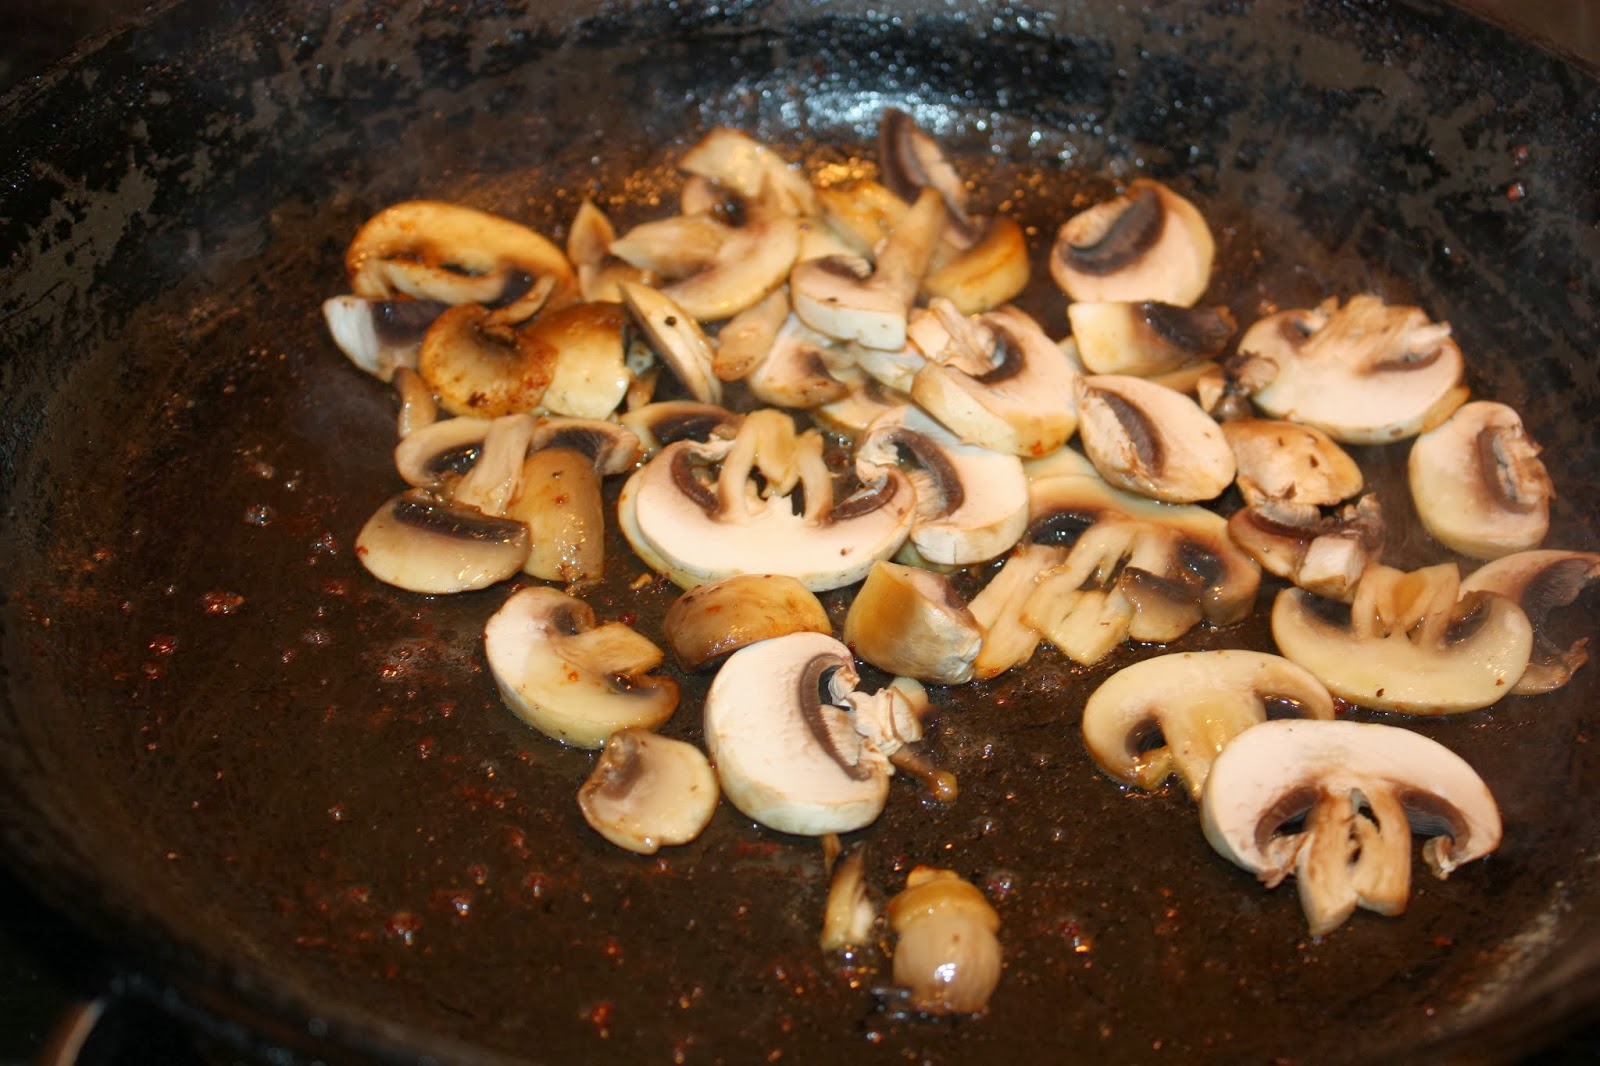
Toss your sliced mushrooms into the same pan. Add more butter if needed and lightly sauté your mushrooms. Once that's done, remove them from the heat and set aside. 


In a separate pan, sauté your onions.


Once your onions are sautéed, add your apple cider vinegar. Return your chicken to the pan and cook, covered, for ten minutes. Flip your chicken half way through! 

In case you didn't know, I apparently thought I should show you how to cover a pan...


Ta-dah!

Once your chicken is cooked all the way through, remove it again from the pan. Add your mushrooms and your milk to your onion and apple cider vinegar sauce. Cover and reduce for about 10 minutes. While your sauce is reducing, cook your pasta how you like it.


While all of that is happening (multitask multitask!), take a small pan or pot and melt some butter for your rolls. I found this impossibly small pan in my cabinets and decided someone should use it at least once. 


I like to cheat, so I used Grands Buttermilk biscuits. I just roll them out like snakes and then twist them into knots to make them look special. 


Melty melty butter. I added some rosemary for flavor! 


Brush this melted butter over your biscuits and cook for about 13 minutes at 350 degrees. 

Lastly, slice up your apple (I used two.. ) and gently cook them in some melted butter just until lightly browned and softened. You still want them to have some crunch!


Once your sauce is reduced to your liking (you can make it as thick as you'd like - just add a little flour. If it gets too thick, just add more milk!) - begin layering your dish. Start with your pasta at the bottom, then your chicken, cover with your sauce and garnish with your apples and a little parsley for some green!


Yum!!! It was a crowd pleaser and a great way to welcome the new season! 


Please leave any comments or requests below! Thank you all again and have a great week! 
(This recipe was derived from Fuss Free Cooking . To be honest I couldn't remember what a shallot was - so i used an onion! Use what you have - or what you know!)